Alongside inserting text, you will need to know how to add images using LG Signs. This knowledge base article provides a simple guide on how to do this. To design a sign or showroom plate, just make your way through each tab. Set up and style each element before you save it as a template or print it out.
The Builder Tabs – Images
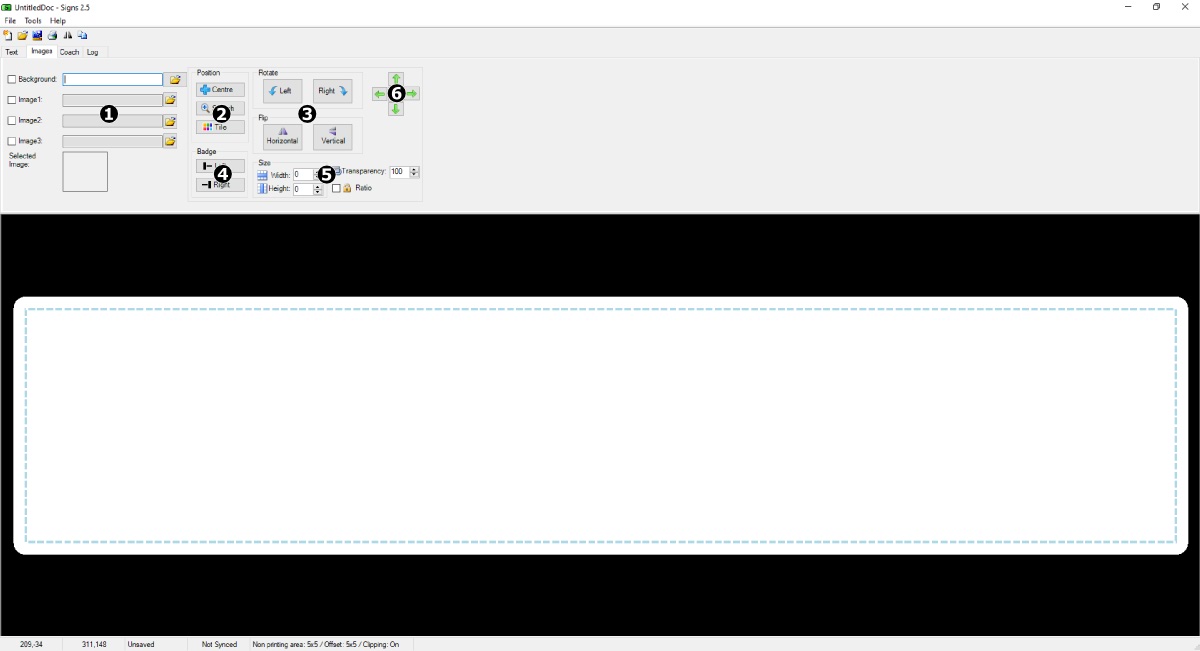
Image controls are on the second tab
If it’s not already running, start up your LG Signs software and select the Images tab on the builder. Now you’re ready to start adding images into your sign.
As can be seen on the picture above, the Images options and controls are spit into multiple sections. Which allow you to insert a background and 3 separate images into your sign. And with its controls you can resize and position each one differently.
- 1: Add a Background & up to 3 Images.
- 2: Position Each Image.
- 3: Rotate & Flip Controls.
- 4: Quick Side Badge Positions.
- 5: Resize and Transparency Settings.
- 6: Fine Tuning Controls
Add A Background Image
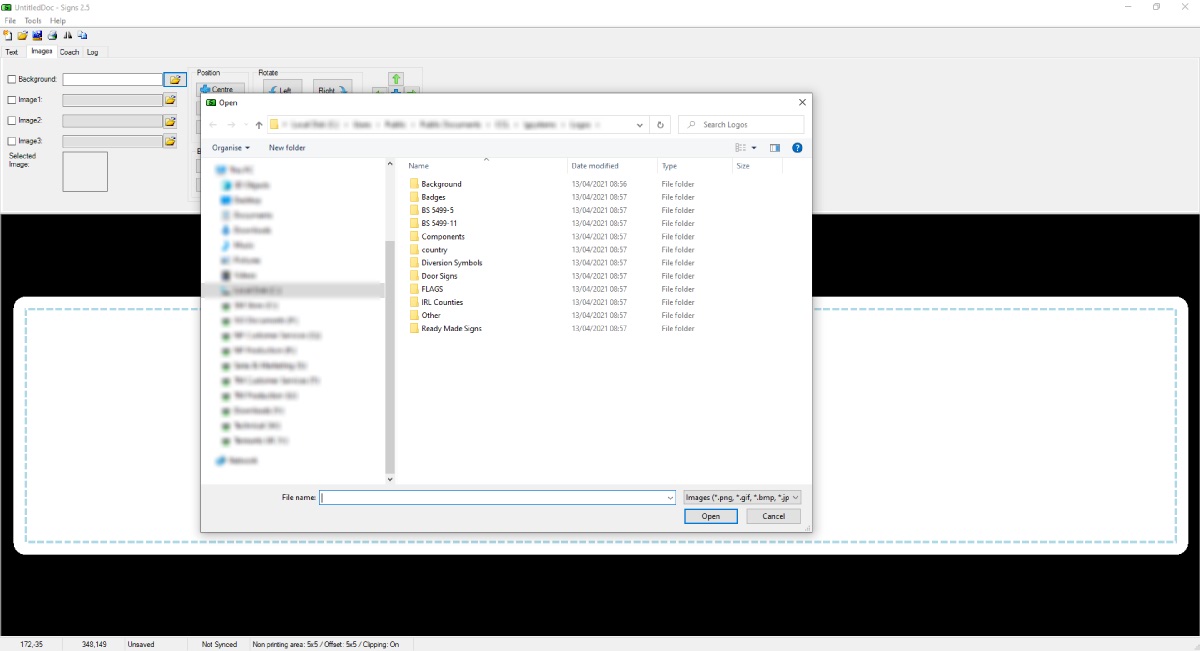
Tick to enable and insert a background image
Once you have selected your signs size, you can begin to add and style elements into it. In short the LG Signs Images tab allows you to enter 4 separate pictures into your design. Which includes a background image or pattern you can tile. And it’s all you need to build a simple sign out of a few design elements.
To add a background, simply click the top button with the Folder icon. This will open a File Explorer, which shows all the drives and devices connected to your PC. So use it to locate your background, select it and then click the Open Button. You should now see it placed into your sign by looking at the preview window.
Next we will cover the various options and controls to size, position and tweak your inserted images.
Image Options & Controls
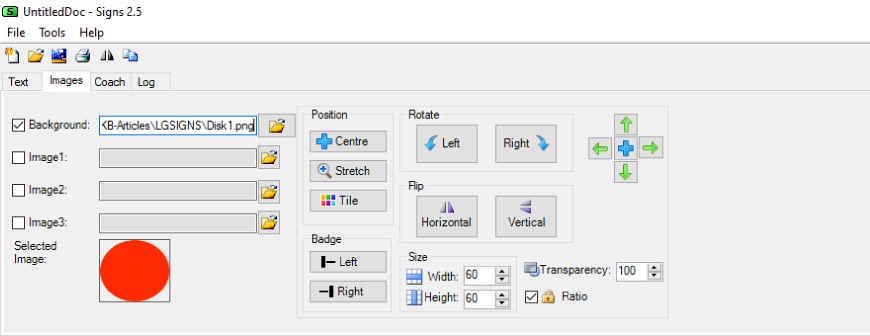
Options allow you to resize and position each image
After you have inserted an image into your sign, you will want to resize and put it into its place. Here on the Images tab you can see a raft of options and controls to manipulate images. By default all pictures are inserted into the middle of your design. To move it simply click into the preview window, your image will then centre wherever you click.
Position Your Image
The first block of options relate the most to your background image. Unless you want your background to span across the sign, here’s where you can flip, rotate, tile or stretch it.
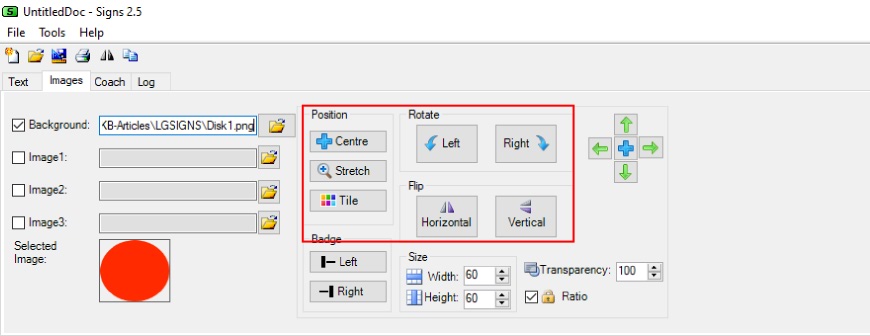
Here’s the option to reposition images
We’ll begin with the Position options, these will centre your selected image. Or you can stretch it so that it fills as much of your sign as possible. Although you can opt to tile it instead, great when you have a pattern that repeats nicely.
Next to those options are the Rotate and Flip controls. By clicking these buttons your target image will either rotate 90 degrees in the indicated direction. Or you can use them to flip or mirror a picture instead.
Resize An Image
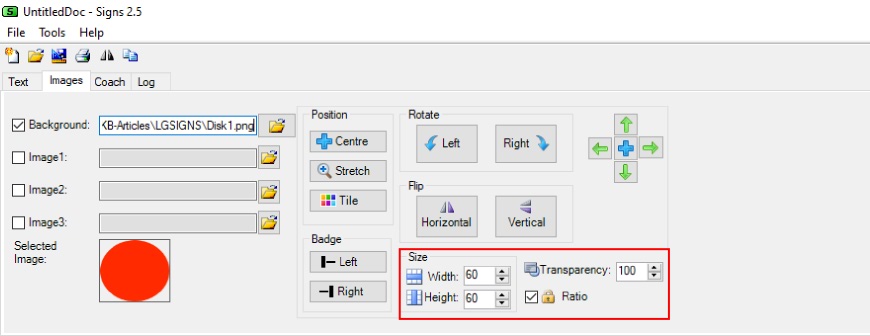
You can Size each image separately
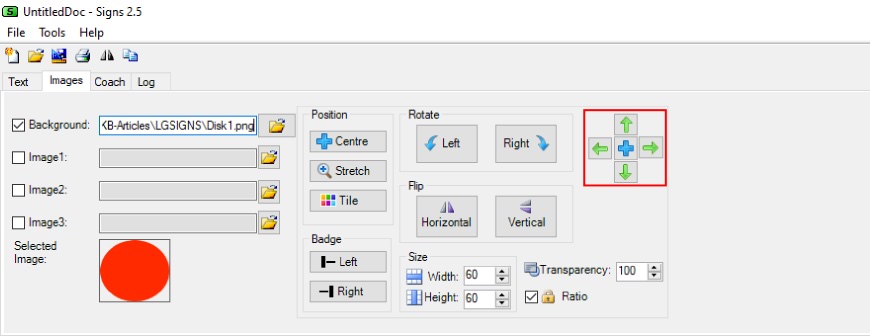
Arrow keys provide fine tuning options
Once you are happy with the general position of your image, it’s time to look at its size. Ensure your target image is still selected, and then tweak its width or height. Unless you want it to distort and stretch, tick the Ratio checkbox first. If needed use the nudging controls highlighted on the picture below to fine tune its position.
Add More Images
Add more images and style them
Alongside the background image, your LG Signs software lets you add 3 more images into a design. To add another one, simply click the browse button on an empty image field. Now find your image on your PC and add it to your sign. As before, resize and position it as you want to create your design.
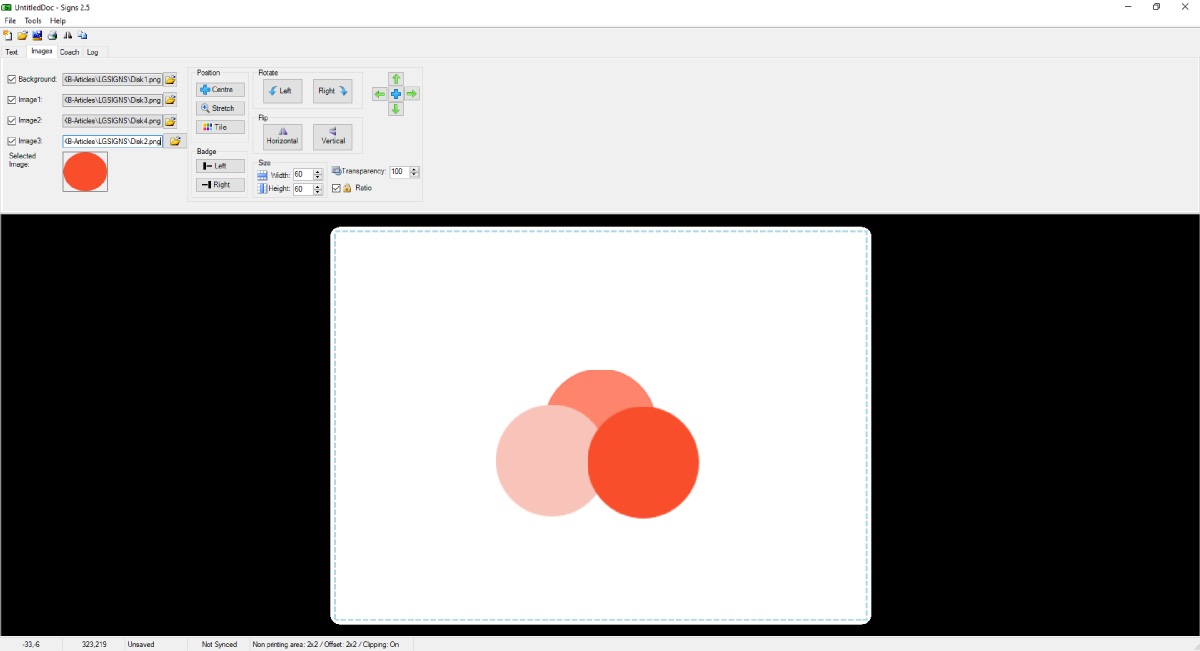
The order of your images sets it Layer Position
Image Layers and Transparency
In addition to adding pictures, the image fields also control their layering as well. By that, we mean which image appears on top or below another. The layering order the fields is simply background up, which you can see on the picture above. This means Image 3 is above 2, which is above 1 and so on.
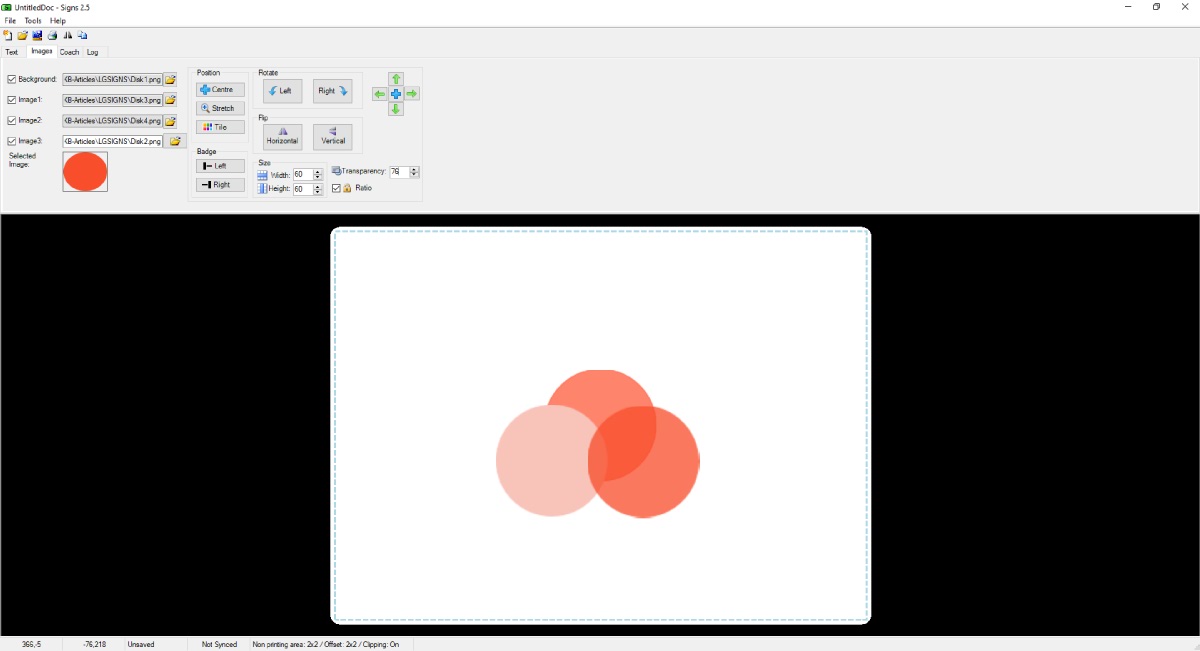
Last thing we need to cover is transparency, which can be set on each separate image. Unlike the Text Tab, this time it effects the opacity of your image. In short 100 equals solid, and set to 0 your image is fully transparent.
After adding your images you can move on to the next elements of your sign. In the next article we cover how to create borders and boxes using Coach.