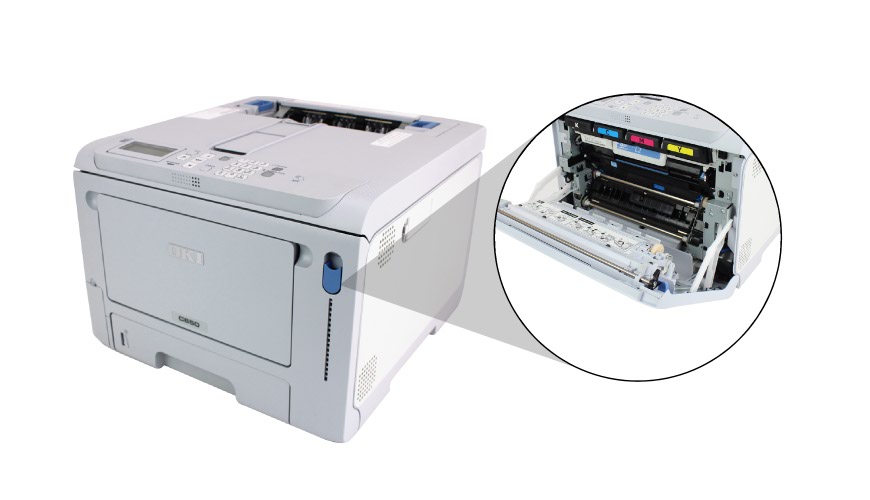
Clean C650 LED Heads
This knowledge base article shows you how to Clean C650 LED Heads in your OKI printer, vital when having print issues with your components. We also recommend regular cleaning of the LED’s, for example while replacing toner cartridges or after printing 500 plates. The instructions below assume you are directly facing the front of your Trade Colour machine.
Always ensure your printer has cooled down before carrying out any cleaning. To reduce cross contamination, cover your exposed image drums with a clean cloth or large sheet of paper.
Open Front Cover
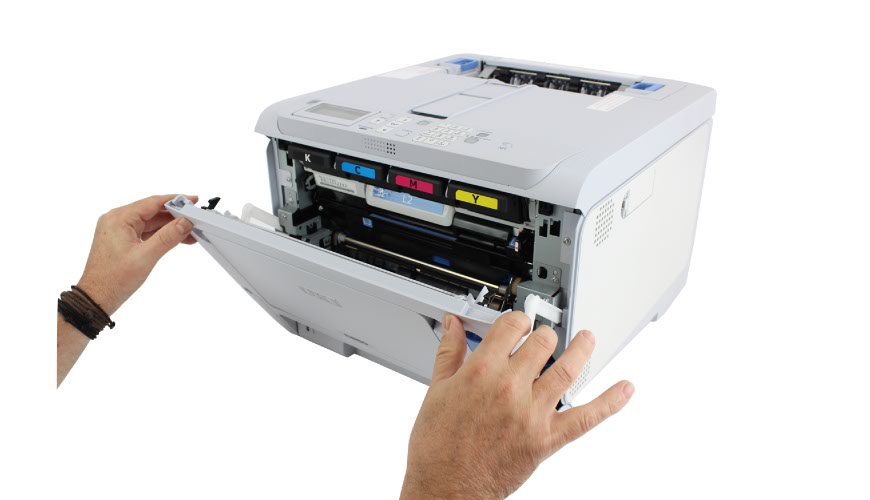
Pull lever & open the front
Before you can clean your print heads you have to get to them, on the C650 they’re under the output tray. So start by opening up the front of your printer. Pull the blue front cover lever, indicated on the image above, to open up your printers interior.
Lift Up the Output Tray
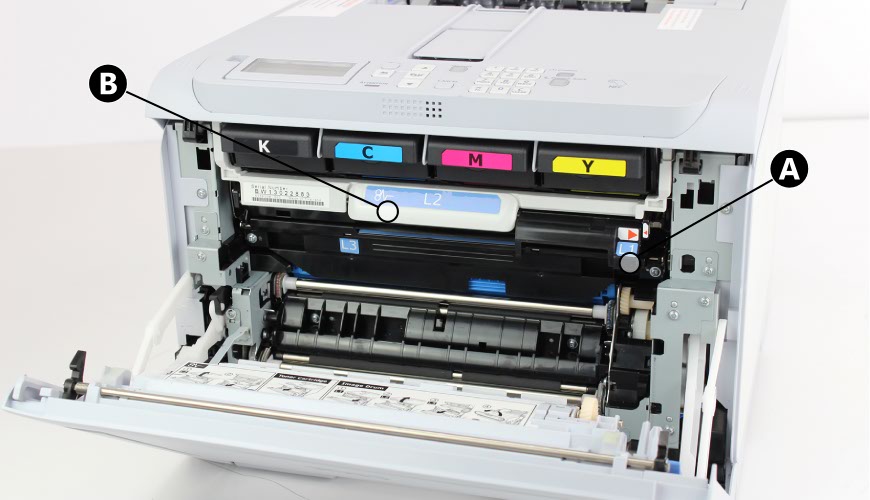
Pull out lever A and then lift up lever B
To access the print heads, you now have to lift up the output tray including the toners. Begin by pulling the L1 Lever (A) towards you, until the red triangles align. Now pull and lift up the L2 Lever (B) and lift up the output tray.
Access the LED Heads
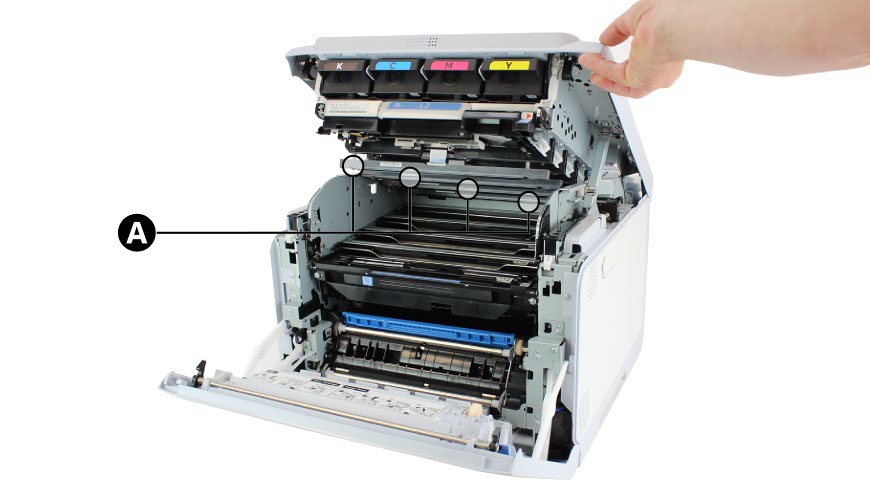
The LED Heads are located under the Output Tray
With the output tray raised up, you can access the 4 LED Heads (A) found hanging under it. Dirt, grease and loose toner can contaminate them and effect the print quality of your number plates. While cleaning, do not allow any bright light to shine onto the LED heads.
Clean LED Heads
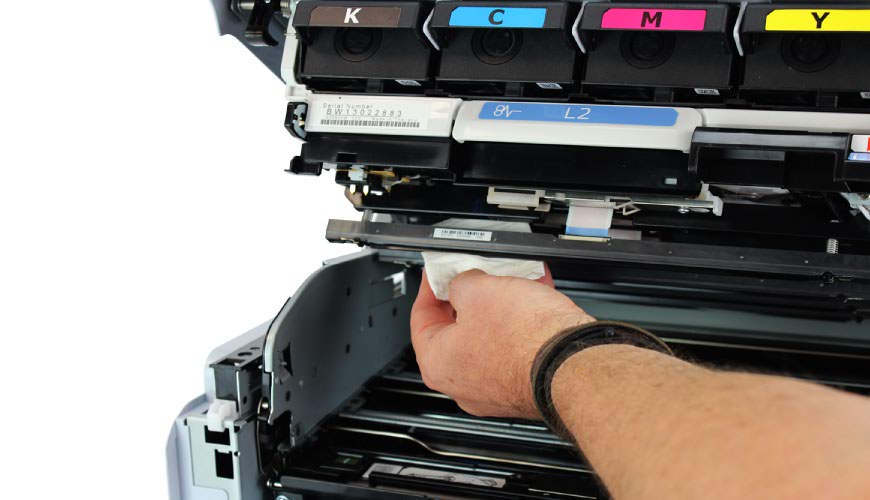
Wipe each head – from 1 side to the other
Starting with the back array first, softly wipe from one side to the other with a soft, lint free cloth. Do not use alcohol or any cleaning agent as these may cause damage. Not only wipe underneath it, but wipe both sides down as well.
Once one is clean, move forwards to the next and wipe that too. Repeat the process with each head until all 4 are done. If you have some, a can of compressed air is great at blowing away any dirt particles. Just be careful not to blow debris into your printer.
Close Up Your Printer
After cleaning close-up your printer
After cleaning, you’ll need to close up your printer. Start by removing any cloth or paper you placed over the image drums. Next pull down the output tray until that clicks into place. And push the L1 Lever back, so it locks into place too. Finish by pushing shut the printers front cover with both hands.
Having Trouble? – Check Conditions
If you’re having to clean your printer heads a lot, you may be using the machine in less than optimal conditions. Remember this number plate printer requires a warm, dry and dust free environment, like an office. Store your consumables in a similar location and keep them in their packaging until required.
For more detailed instructions, try your printers onscreen help. Or take a look or your number plate systems user guide.