Power Up the 9541 Printer
This knowledge base article shows how to power up the 9541 printer when starting a number plate production run. Follow these simple instructions and ensure the power is turned off on the OKI printer and your computer until ready. We recommend using the USB cable to connect to a PC because it’s easier to set up and windows will do the majority of the work for you.
Check Cables are Connected
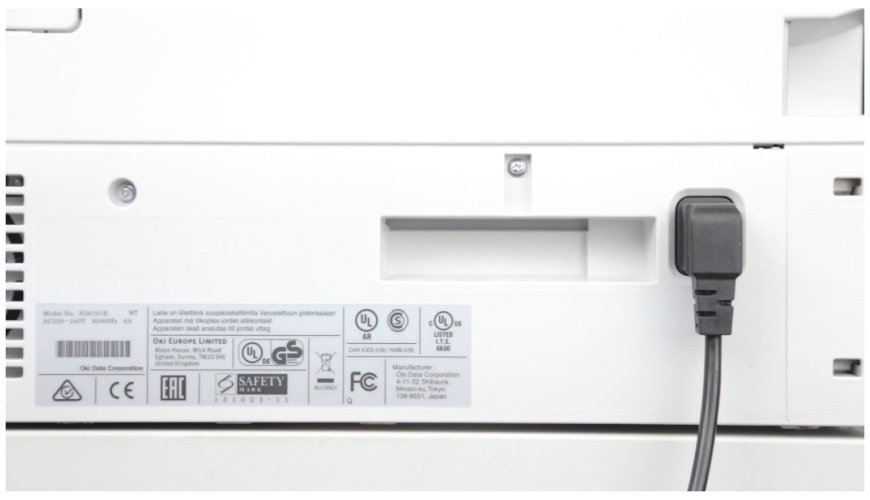
Check the mains power cable is inserted
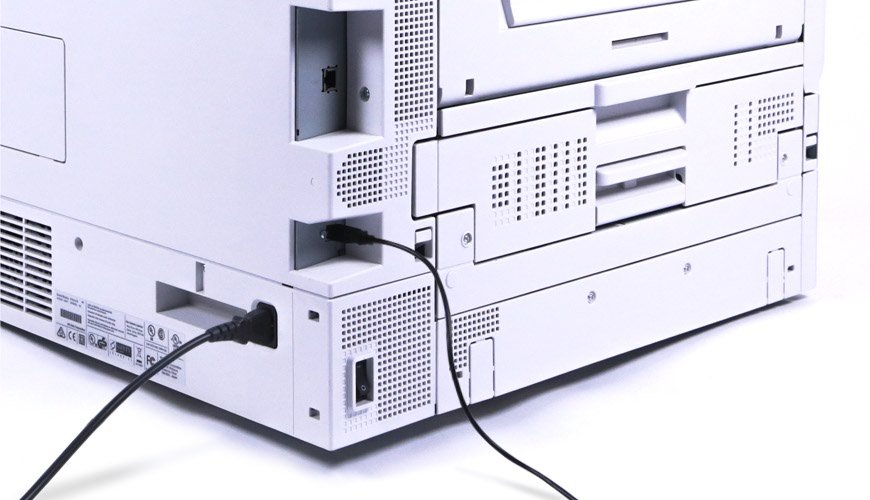
Are USB or Ethernet cables connected?
Start by checking the power lead and the connectivity cable are connected to the printer and the computer securely. The ports can be found on your printers rear and left hand corner. The top port is used for Ethernet cables and the bottom port for USB connections.
Power Up the 9541 Printer
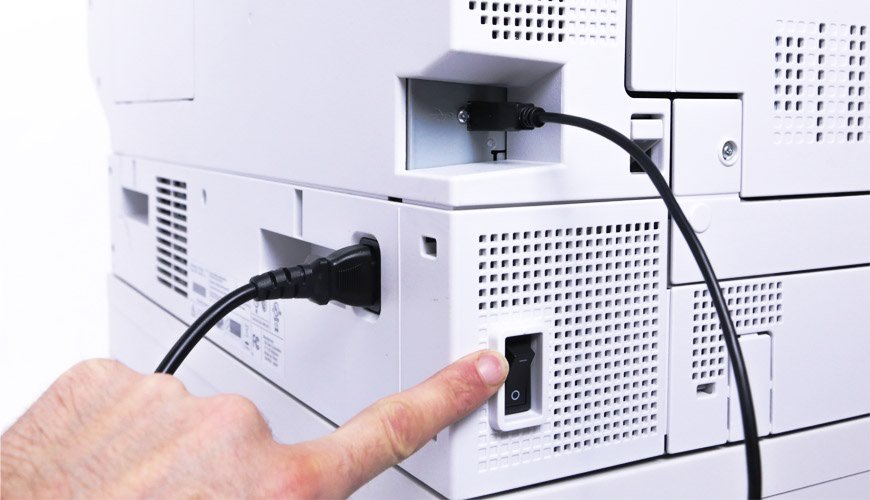
Switch the mains power on at the rear
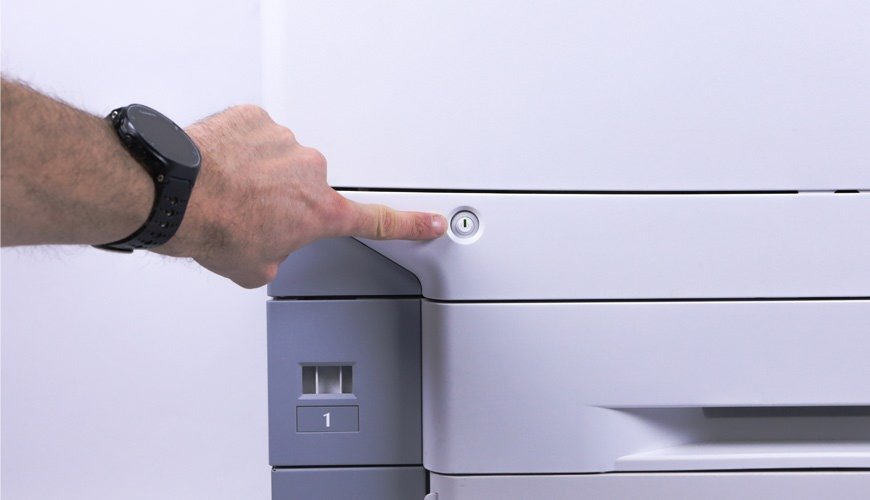
Turn your printer on using the front power button
Once you’re happy the cables are all securely connected, turn on the mains power first. Next, turn the printers power switch to on – as shown in the image above. You will find it right below the USB & ethernet ports. And finally press your printers power button, located on the front left of the machine.
Turn On Your Computer
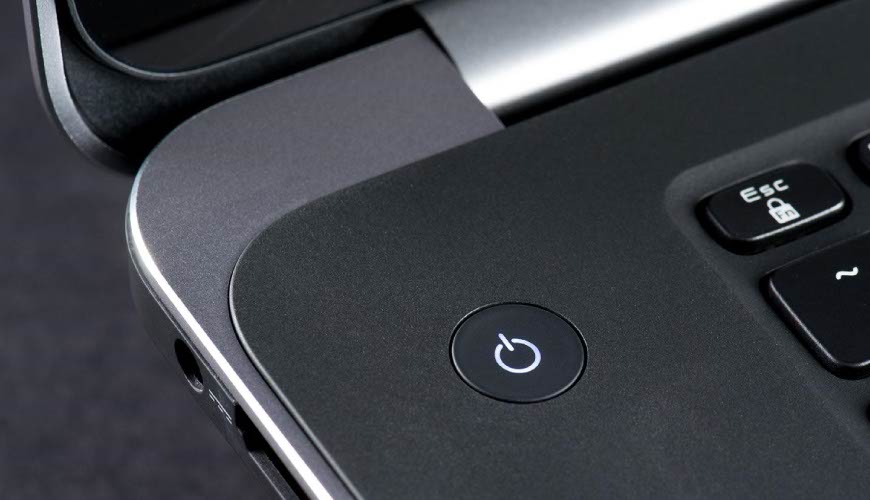
Power up your laptop after the printer so it detects it
Next step is to power up and turn on the connected computer. Once it reaches the Windows desktop and has found the printer you’ll be ready to start work. If you have used an Ethernet cable to connect the printer to your network for sharing, it will need configuring and setting up.
Always turn off the printer when not in use or when cleaning the LED heads. Simply turn off your printer using the front power button, then toggle the mains switch to the off position.