Install CLS621 Media Tray
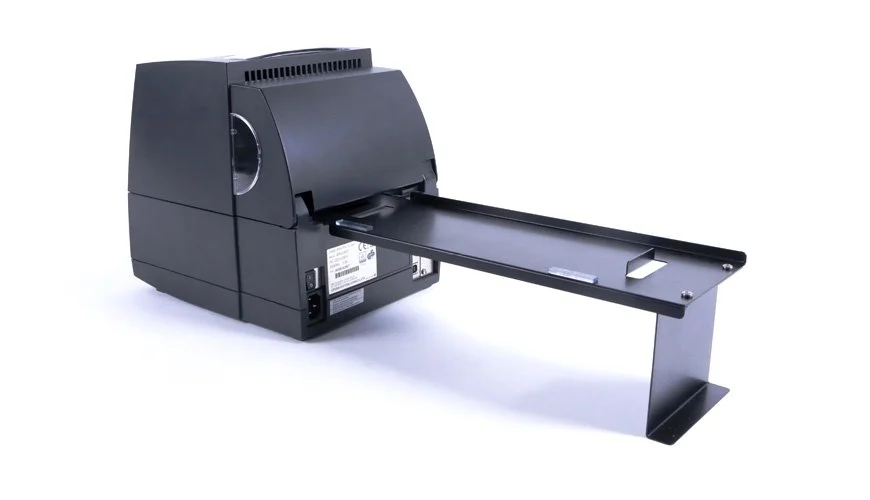
This knowledge base article shows you how to Install the CLS621 media tray, used when using reflective sheets. The tray will hold and help feed your long components into the machine when printing number plates. Connected to the rear of the machine, it comes with a raised lip to help push your sheets into the printer.
Video Guide
 CLS621 Media Tray Install – YouTube Popup
Remove Top Cover or Lid
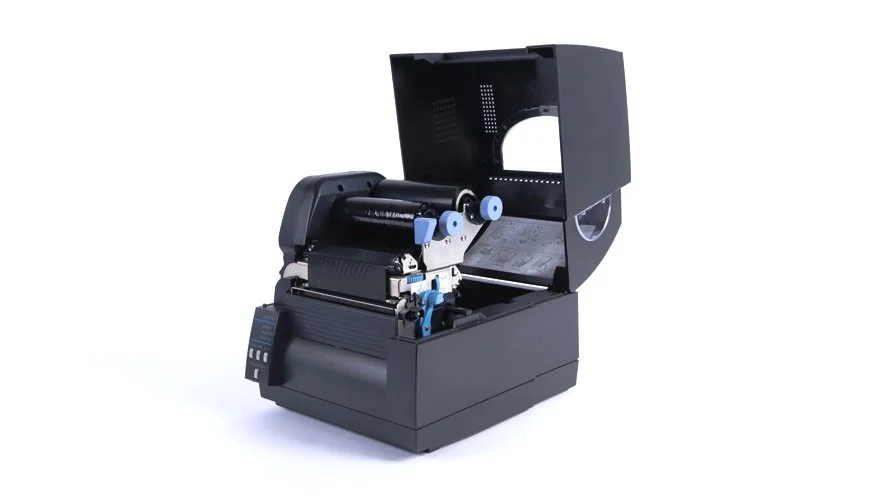
You’ll need clear access to the inside of the printer before you can fit the media tray. And you’ll have to move everything in the way too. Start by opening your printers top cover and gently pull it back out of the housing brackets. Place it aside for the moment.
Lift Print Unit & Sensor Arm
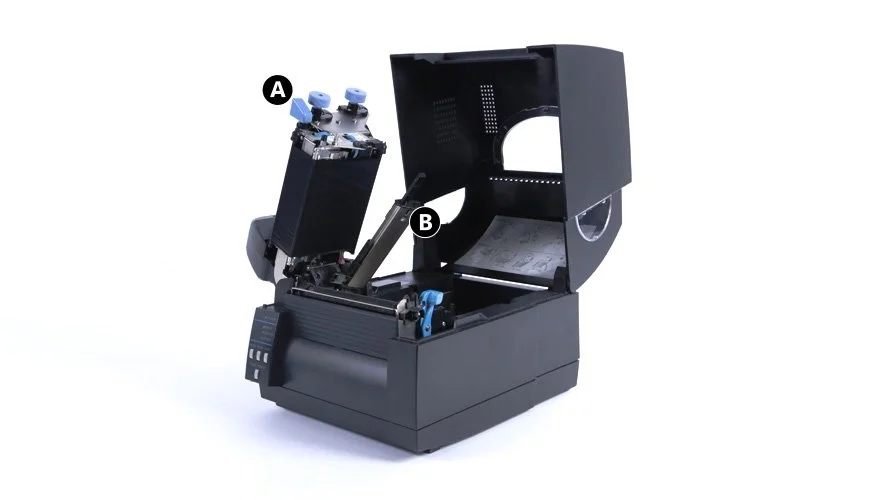
Next you need to move the print unit (A) and sensor arm (B) out of the way. To release the print unit and ribbon holder, push the large headed blue lever and lift it all the way up. Then simply lift the sensor arm straight up out of the way.
Install CLS621 Media Tray
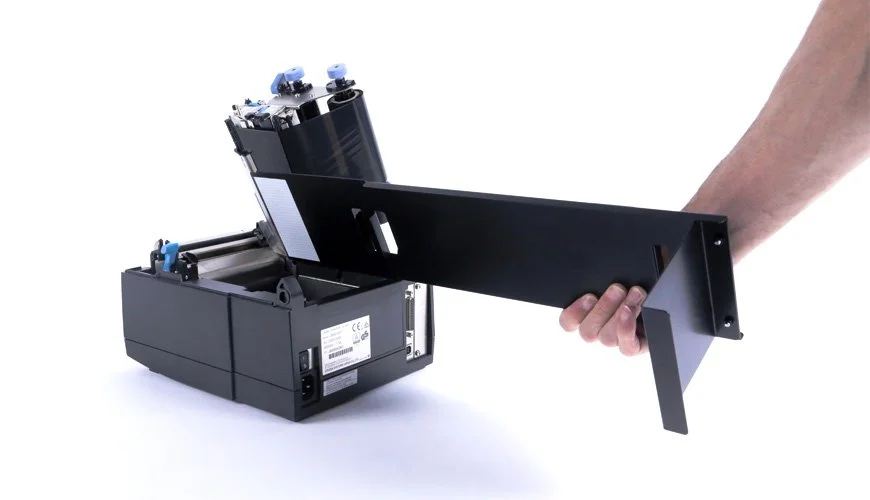
Now the ribbon and sensor arm is out of your way, there is room to fit the media tray. Just push the tray down onto the rear of printer, as in the picture above. The aim is to to clip the bracket on the bottom of the tray, over the rear wall of your printer. To keep it secure you can use some tape or a thin adhesive pad to help keep it in place. Once it’s fitted, the media tray creates a smooth uninterrupted path to the printing unit. And it needs to be fitted correctly for reflective to feed through the print unit.
Lower Print Unit, Sensor & Top Cover
Since your media tray is successfully installed, you can load it up with Reflective Sheets. Don’t forget to check the media guides are set to the right width for your sheets. Once that’s done, it’s time to put everything back and close the printer up. Start by simply lowering the sensor arm down into place, then push the print unit down until it clicks and locks. Finally replace and close the printers lid to finish. Now you’re ready to start printing.
Need Help?
This is a quick article on installing the rear CLS621 Media Tray, refer to your user guide for more details. Or for further assistance, contact our tech support & customer service team for help. For ribbons, supplies or plate media for your printer, try our online NP-Shop – trade account required.
Note: If your reflective isn’t being pulled through the printer, check the CLS621 Media Tray is seated correctly.


