This knowledge base article provides a guide on Making A Shaped Plate with step by step instructions. If you follow this guide you’ll see just how easy it is to design it in LG Signs. Once you have completed the design you can print it onto a film sheet and assemble the sign.
If you need help finding your way around check out our Overview, Text, Images and Coach guide to LG Signs.
LG Signs: Shaped Plates
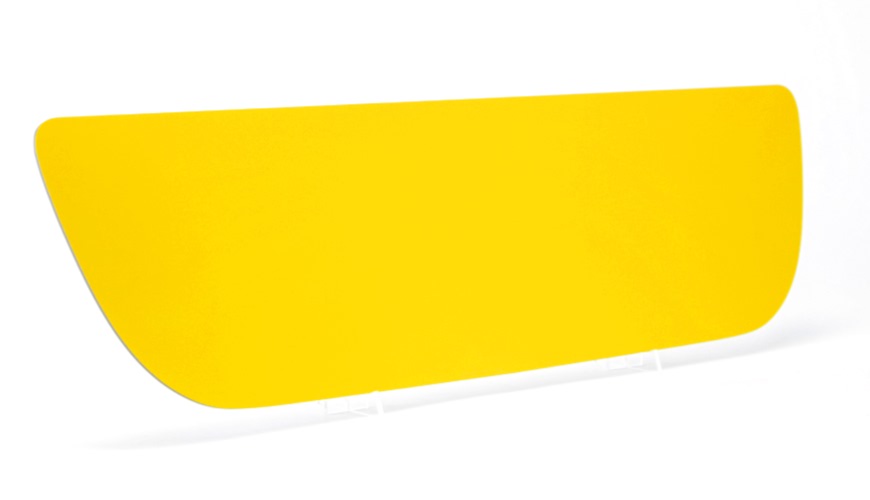
Pre-shaped plate media
To help you create a Shaped Plate in LG Signs we’ve included a set of default templates. This template file has multiple settings to speed up production. And allow you to customise it for your company’s use.
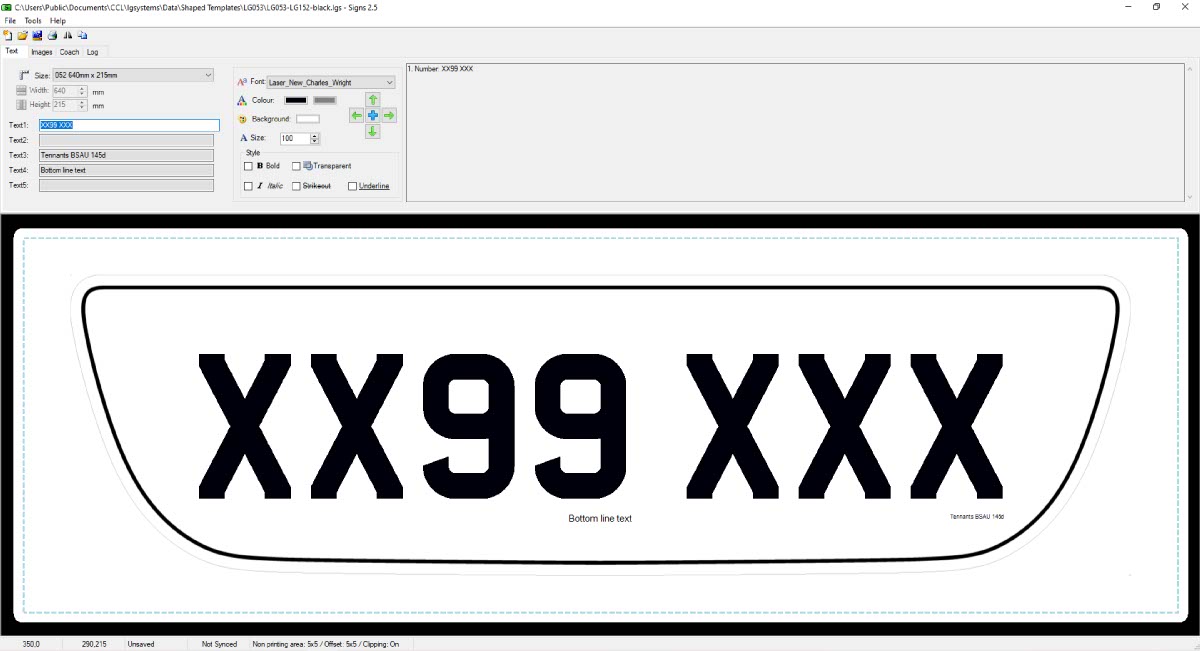
Shaped templates are included in LG Signs
This file contains the plate size and a background image with an alignment guide to aid assembly. Not to mention populated text fields for the registration, BS number and supplier bottom line. As a result making a shaped plate becomes a simple matter of loading a file and editing text.
Open A Template
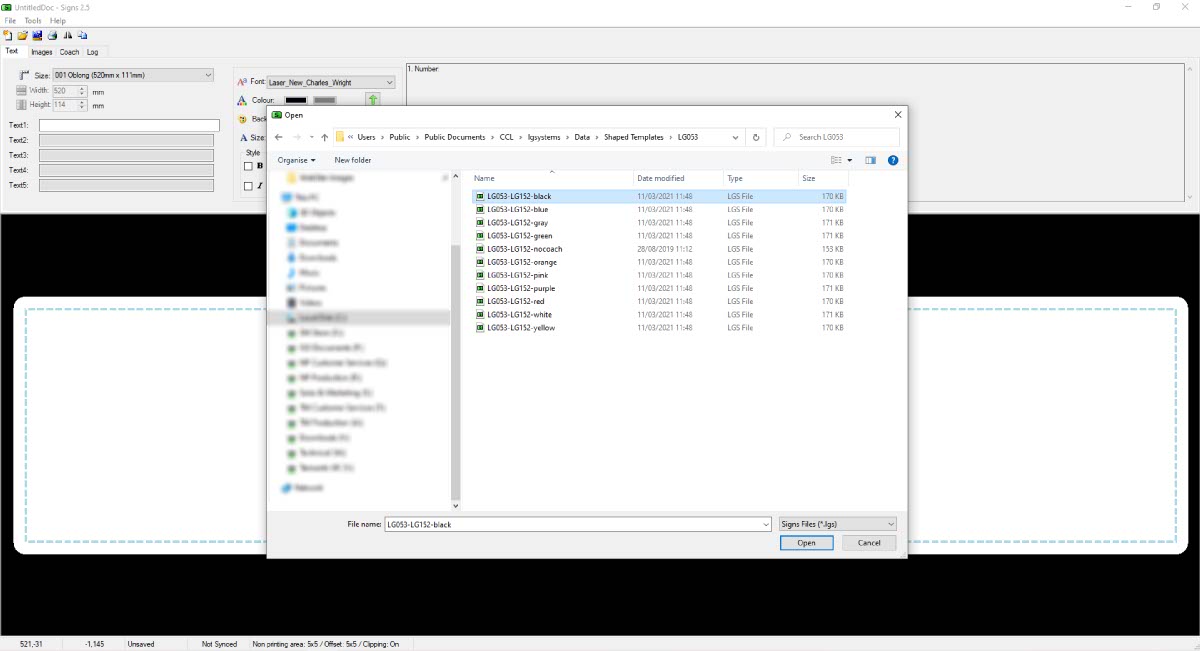
Load a shaped plate file
Start by opening up LG Signs and either use the File Menu or the Quick Icons Bar to open a template. This will open a File Explorer, which shows all the drives and devices connected to your PC. So use it to locate your Shaped Plates folder, select a LGS file and then click the Open Button. You should now see the template is loaded by looking at the preview window.
The next sections quickly cover how to edit the design so you’re ready for printing.
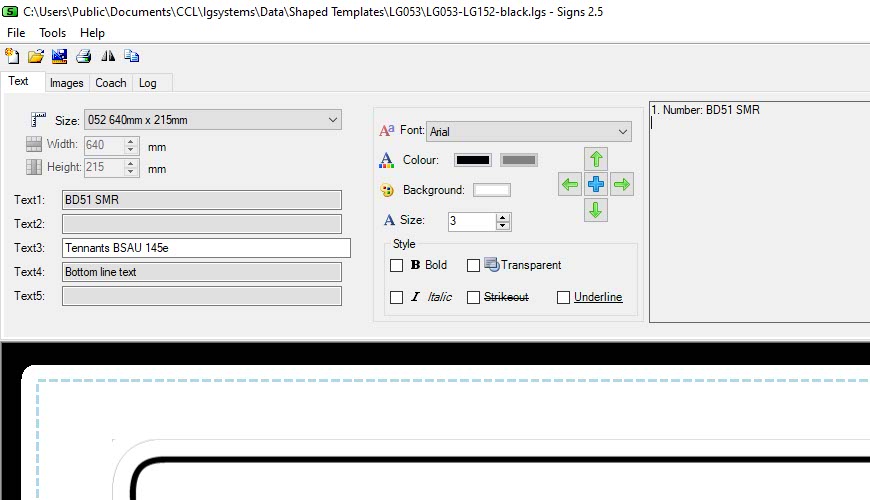
Enter a Registration Number
Change the text – start with the Registration
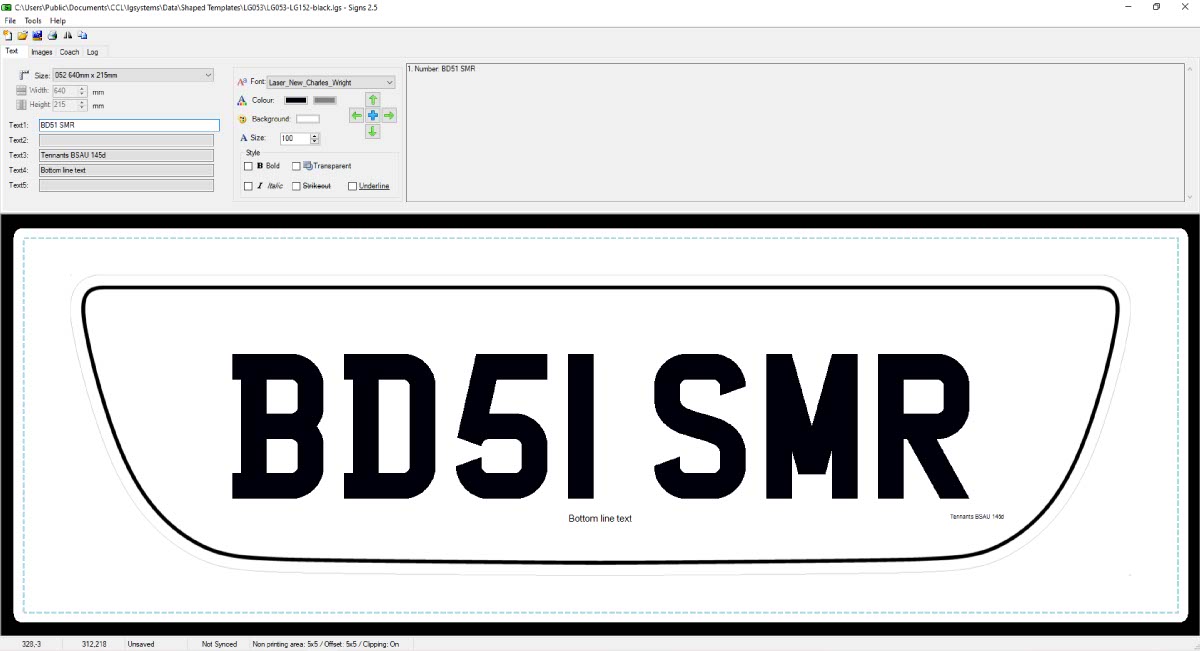
If you are not already on it, click the Text Tab so you can start editing the plate. As you can see in the picture above, the Text 1 field is set up for the Registration Number. That includes its position alongside the text size and font.
To alter it, simply click into it and first delete the default content. Then type in the registration, you need to take care to enter it correctly including the space. Because as we covered in the Overview, LG Signs does not come with validation or restrictions built in.
Check the BS Number
Check the BS Number is correct
Moving down the text fields, we come to the British Standard number in Text 3. You should not have to do anything here, but if you’re on an old version of Signs just update it to 145e. After all BSAU145e became mandatory on the 1st September 2021.
Add Your Bottom Line
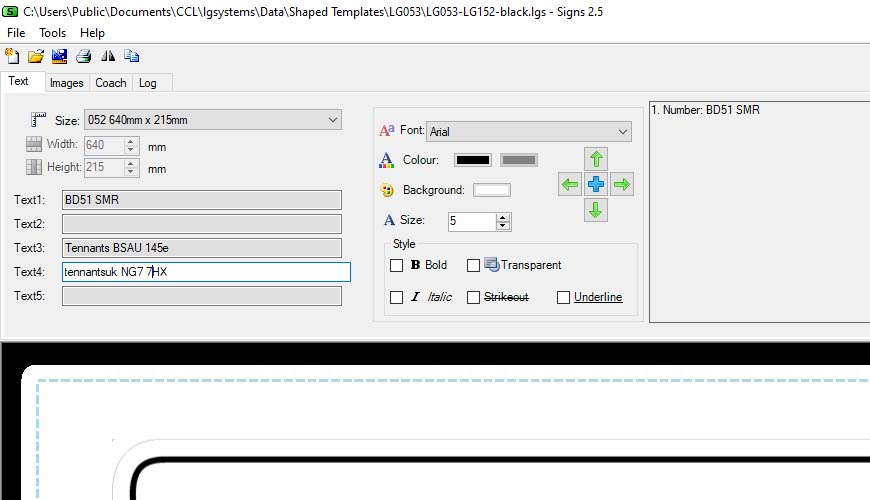
Alter the bottom line to your Supplier Name
Or add and position a Logo
All that is left now is your supplier bottom line, which can either be just Text or a Logo. But be aware the standards and regulations still apply. Which means your identifier can only be one colour and must be no bigger than 178x10mm.
To use a text bottom line, all you need to do is edit the Text 4 field just like LG Plates. Which means you can pick a font, colour and set the size. But it should already have been put into position for you by the template.
Using an Image.
For a bottom line Logo you will need to add an image, resize it and position it yourself. So click the Images Tab and then add your image using the Image 1 field. As you can see above, the template uses the background already so leave that as is. We suggest using the bottom line text as a guide, then delete it once its in place.
Once you have added your image, resize and then centre it. Next step is to use the arrow controls to lower it to the bottom line. If it helps, turn off the background fill using the transparent option on Text 1. And to save you time, click the down arrow once to activate it and then hold the return key down to lower your image into place.
Save, Print & Assemble
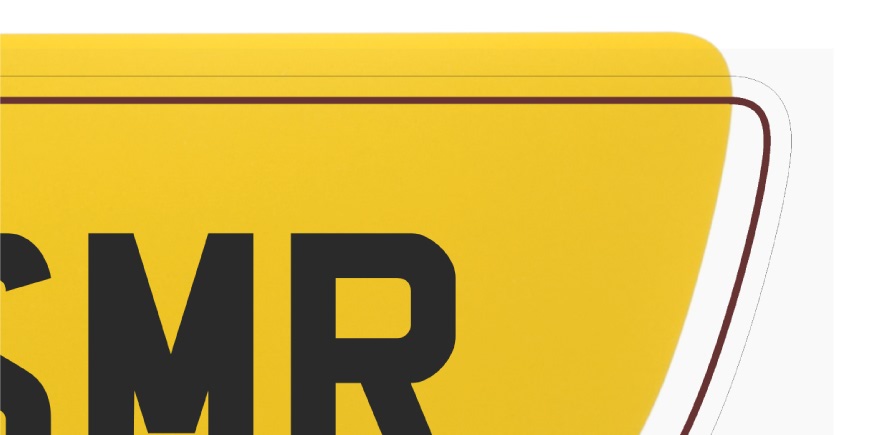
Once you have edited it for your needs, you can save the design as a new template. Or print it out, but first make sure you’re using the correct size media. Which media you need is shown on the Signs Size on the Text Tab. By default it should be 640x215mm, as our shaped plates are made by printing onto an oversized sheet and trimming it to fit.
The image above shows a clear film sheet complete with the outer alignment guide. All you have to do is match it to the shaped component, and after laminating trim off any waste.