Replace C532 Drums
This knowledge base article shows you how to Replace C532 Drums, but ensure your replacement is genuine for compliancy reasons. Instructions that follow assume you are directly facing the front of the machine.
Your OKI C532 printer will let you know when it is time to replace a image drum. First you’ll see warning messages on the display screen found on the display screen, warning a particular drum is getting low. This is when you need to order a replacement if you don’t have any. The message will change and prompt you to replace it once the drum is empty, it may even stop printing.
Open Top Cover
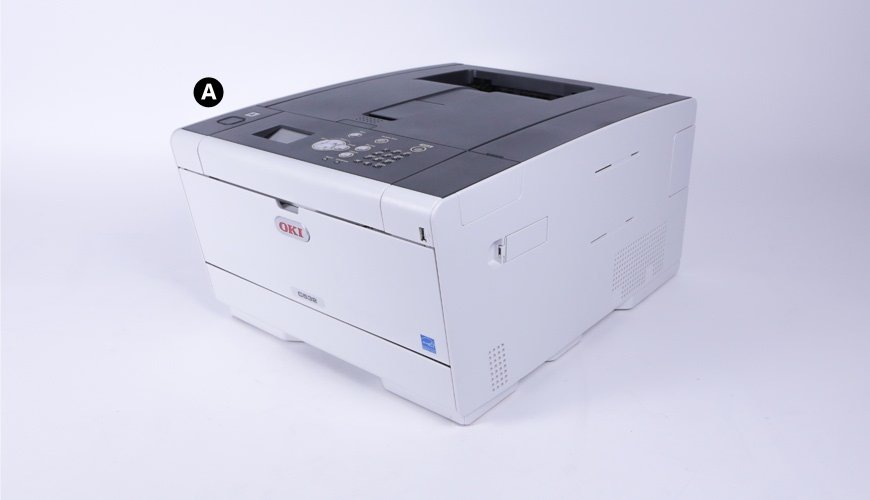
Push button A & lift up the front cover
Before you can install a new drum, you’ll have to locate and remove the empty one. So start by opening up the front of your printer. Press the button (A), indicated on the image above, to open up your printer. Now you can hinge it up fully to reveal the printer innards and the toner cartridges the drums beneath them.
Remove the Empty Drum
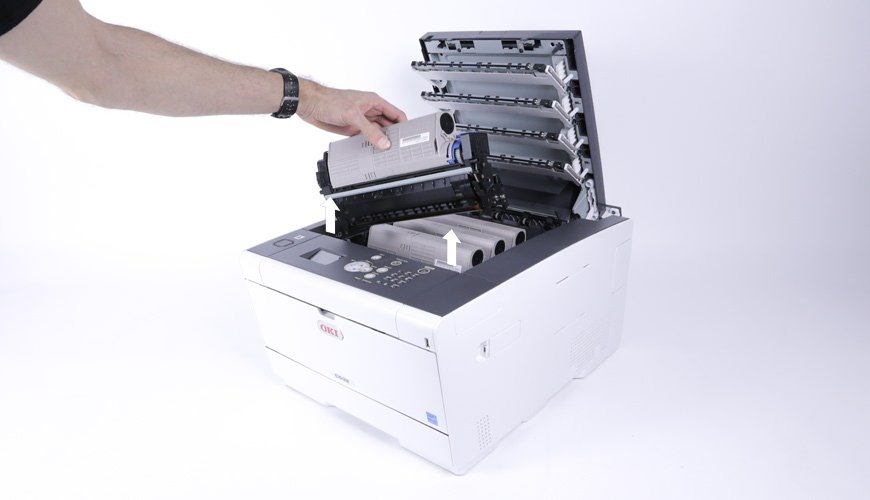
Locate the empty drum and pull it out
Identify your empty image drum by its coloured label (K,C,M,Y). To remove it, simply pull the drum straight up and out of the printer. You will notice the toner cartridge also comes with it, sat on top. So place the unit on a flat surface and remove the toner cartridge off the drum. But don’t throw it away, you want to install it on top your new drum.
Prepare a New Drum
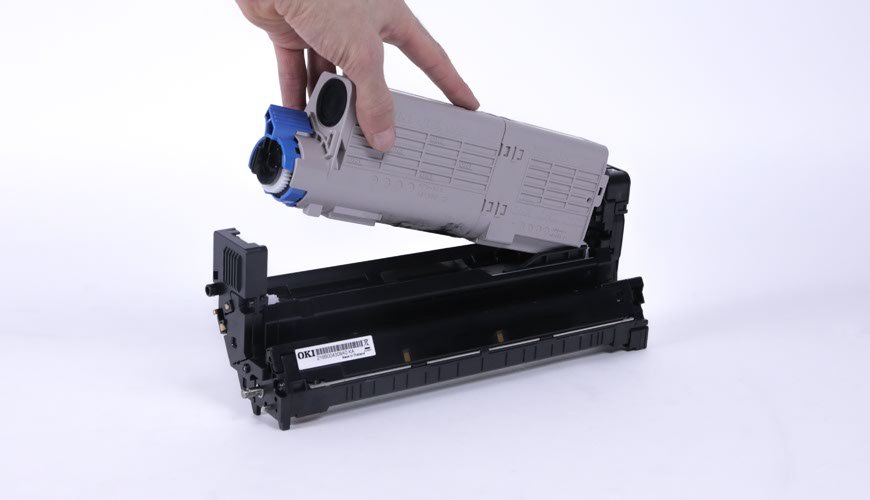
Unpack your new drum, then put the toner cartridge on it
Take your replacement image drum from its box and remove all its packaging. Because drums can easily get damaged, handle with care. And be careful you don’t expose it to strong light or leave it uncovered for more than 5 minutes.
Next attach your old toner cartridge on top of it, align the indentation with the protrusion on the drum. Then push the other side gently down into place. Lock it in position by turning the blue lever back. Now its ready to be put into your printer.
Install the New Drum

Insert the drum and toner cartridge into your printer
To install your new drum, simply line it up and push it down into the empty housing. Finish up by pushing shut the printers top cover, and press OK on the control panel if prompted.
Note: We recommend cleaning the LED heads regularly, changing drums is a perfect opportunity.
Recycle Please
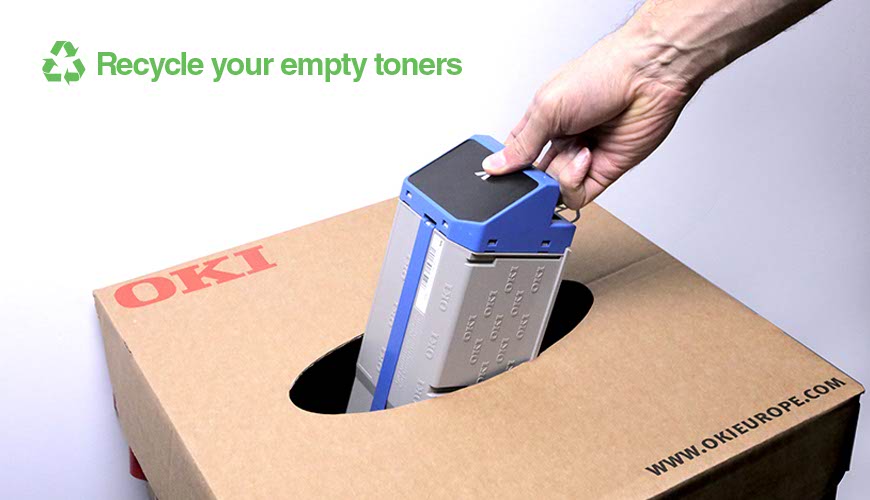
Please recycle your used consumables
Please remember to recycle your empty drum units like your other used consumables.
Need Help or Replacement C532 Image Drums?
You can buy genuine C532 Image Drums from the our NP-Shop. They are guaranteed to fit your printer and are approved for making number plates. A shop account is required however for online purchases.
If you have an issue with your number plate system or drums contact our customer service team for help.