Replace 9542 Drums
This knowledge base article shows you how to Replace the 9542 Drums on your number plate printer. Ensure your replacements are genuine OKI consumables for plate quality and legality reasons. Instructions that follow assume you are directly facing the front of the machine.
Your Pro Series 9542 printer will let you know when it is time to replace a drum. First you’ll see a warning message on the display screen, alerting you a particular colour drum is near end of life. Then the control panel message will change and prompt you to replace a drum when it’s empty.
Note: Drum units are sensitive to light, so always cover them when out of the machine and avoid direct contact with the green cylinder.
Open Front Cover
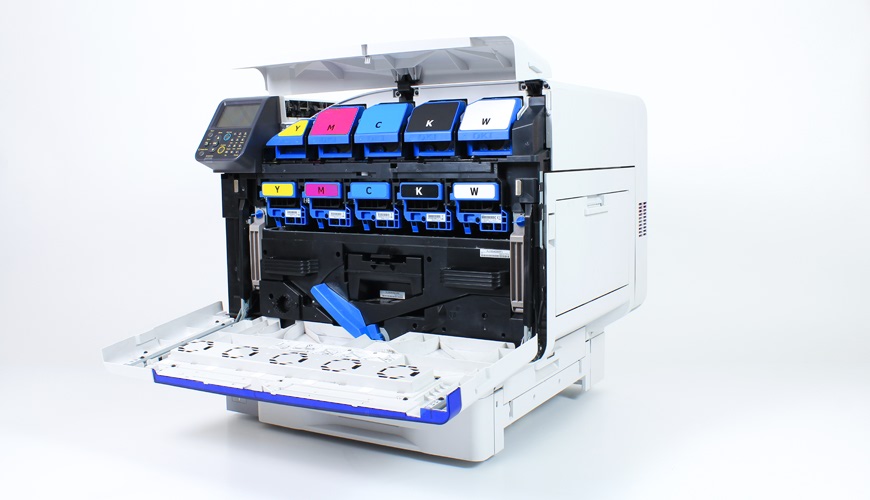
Open the front cover to find the drums
Before you can install a new drum, you’ll have to locate and remove the empty one. So using the grips located on both sides of the front cover and shown on the image above. Gently pull the front cover outwards towards you and then down. The image drums are all housed across the top and shown with large labels.
Remove the Empty Drum
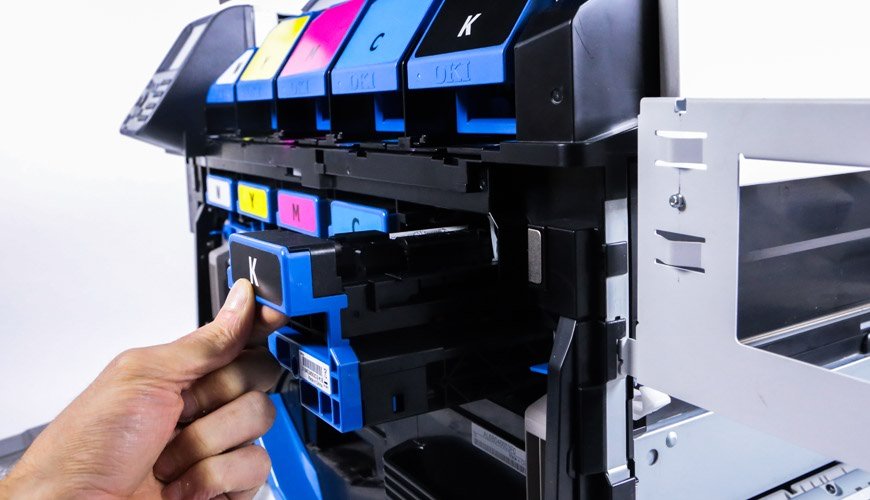
Find the empty drum and pull it forwards and out
Identify the unit to replace by matching the alert message to a coloured label (K,C,M,Y). To remove an empty drum, simply lift and pull it towards you using the protruding handle. Pull the unit fully out the machine and place it aside. Just like replacing 9542 toners, there are no catches or levers to worry about.
Prepare a New Drum
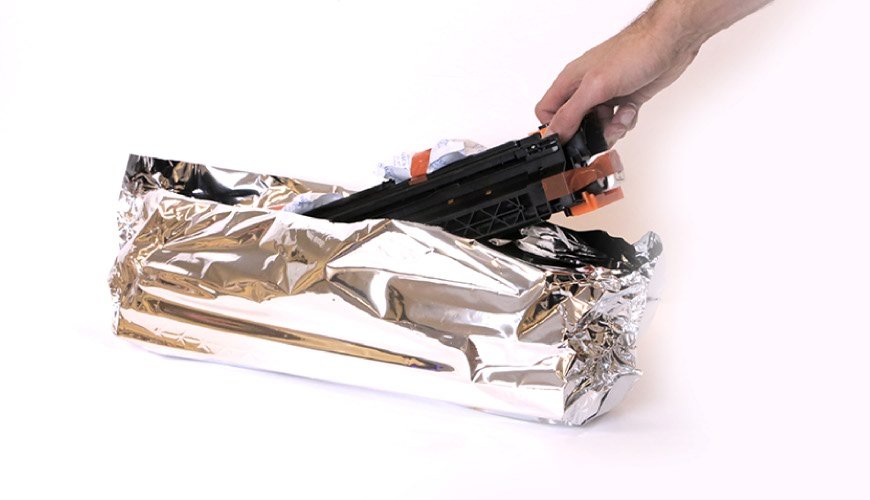
Unpack your new drum carefully and quickly
Now you empty drum is out of the way it’s time to quickly prepare and install your new drum. Unpack your replacement drum from it’s box and remove all the packaging. Make sure the “Orange Stoppers and Tape” are removed from the new unit.
Beware of touching or scratching the green cylinder on the bottom. And be careful you don’t expose it to strong light or leave it uncovered for more than 5 minutes.
Install the New Drum
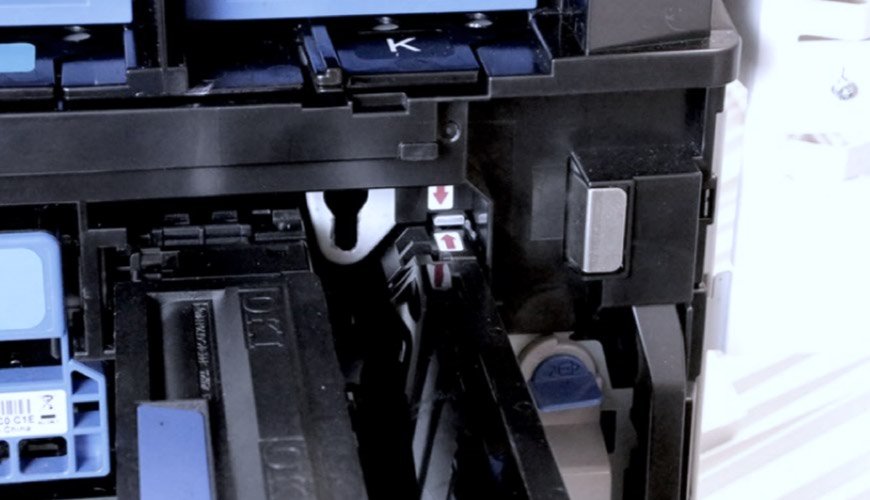
Line up the arrows and push it all the way in
To install your new drum, simply line it up and push it down into the empty housing. Carefully push it all the way in, as far as it will go until it clicks. Now close up the front cover and press OK on the control panel. Your printer will now detect and calibrate the new drum for use.
Recycle Please
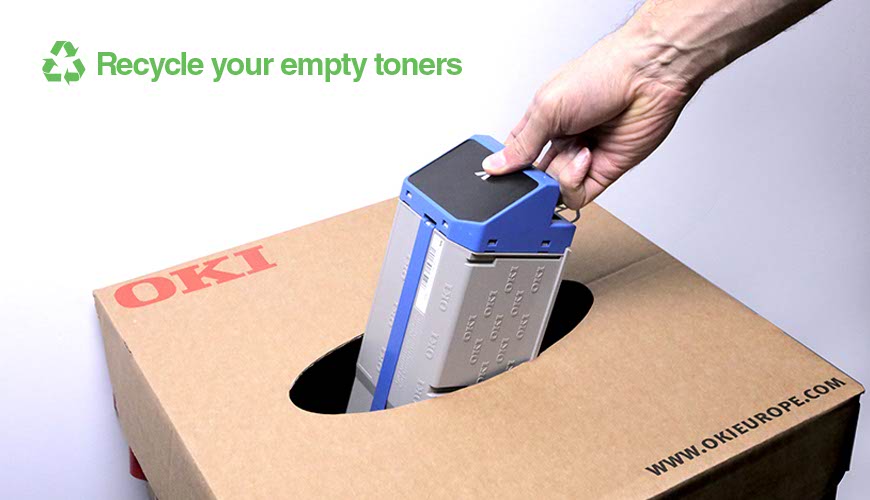
Recycle your used components please
Please remember to recycle your empty drum units and used components. And remember, we recommend cleaning the led heads regularly, while changing drums or before a production run.
Need Help or Replacement Image Drums?
For more detailed instructions, try your printers onscreen help or our user guide. Or if you need further assistance contact our our customer service team. As part of your supply agreement with us, you can order replacement consumables on demand – lead times apply.