LG Plates comes with a Log-In and Passwords facility used to monitor and control user activity. Which helps suppliers to add an extra level of security to their number plate production. This article shows where you log in to the software. And how administrators can create and change accounts in LG Plates. Or turn on and use authentication based Windows users.
Turn On User Log-in & Passwords
If you want user accounts to be active, ask our engineer to activate them on install. Or to get it activated later on, contact our customer service to arrange a support session. Activation requires we edit a database table on your PC and change various settings. Then we will re-start your software to complete the changes. LG Plates log-in and passwords will then be active.
How to Log-In
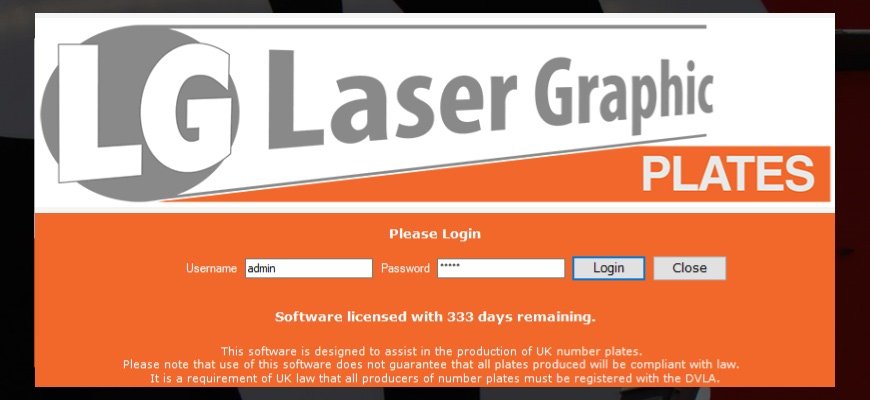
The program splash has the Log-In controls
To log-in, simply start up your software by double clicking the desktop icon. After a short delay the splash screen will launch, complete with log-in fields and buttons.
You need to enter your username and password and click log-in before the software will finish loading. Once logged in, the software will then record who printed which number plate and when. Adding an extra level of accountability to your production.
Set Up Users
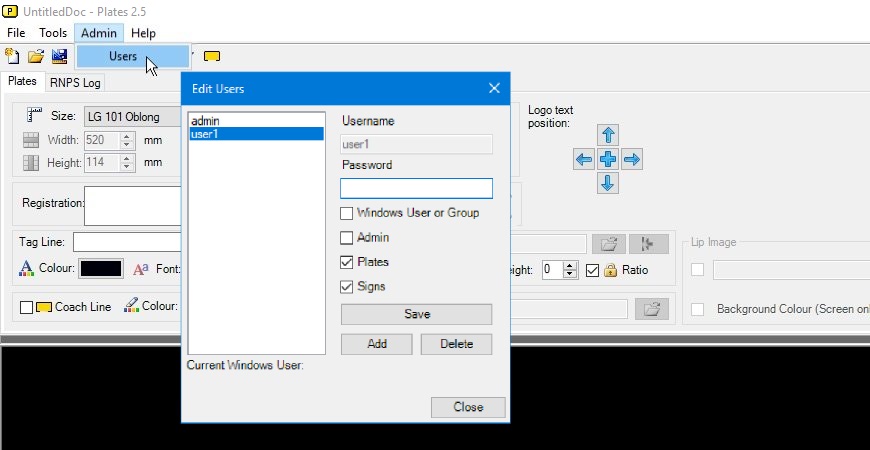
You can add users via the Admin Menu
Only an admin user has permission to set up new user log-in and passwords. To access the admin menu, log-in to LG Plates using the admin account and let the software start up. Once loaded the software has an extra option on the File Menu of Admin.
Add a User
To add a new user, click the admin option and select the Users command. This will launch the edit users module as a pop-up window. A list of existing user accounts are listed down the left hand side.
Need to add a basic user? Just click the Add Button and enter a new username and password. If available set their software access, plates or signs and when finished click the Save Button. This will create the user and add them to the users list.
Edit A User
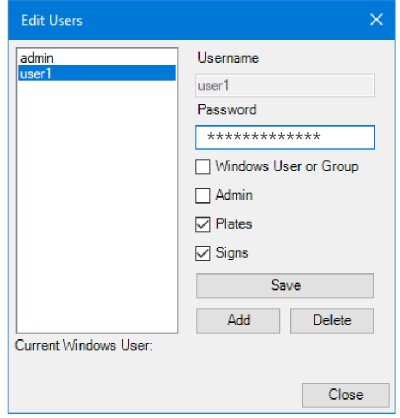
To Edit an existing user, simply click their name then alter the settings and click Save. Reset a password by clicking into the password box. The previous password will be removed so you can enter a new password. If you do not enter anything, it will be left unchanged – it is not possible to set a blank password. Remember to save when finished.
Create An Admin Account
If you want to create an Admin account, click the Add Button and enter the username and password, then select the Admin Box. Admins can access both plates and signs software, so these options will both be auto-selected and greyed out. Click Save to add the account to the users list. Admin accounts can be edited the same as standard users.
Delete A User
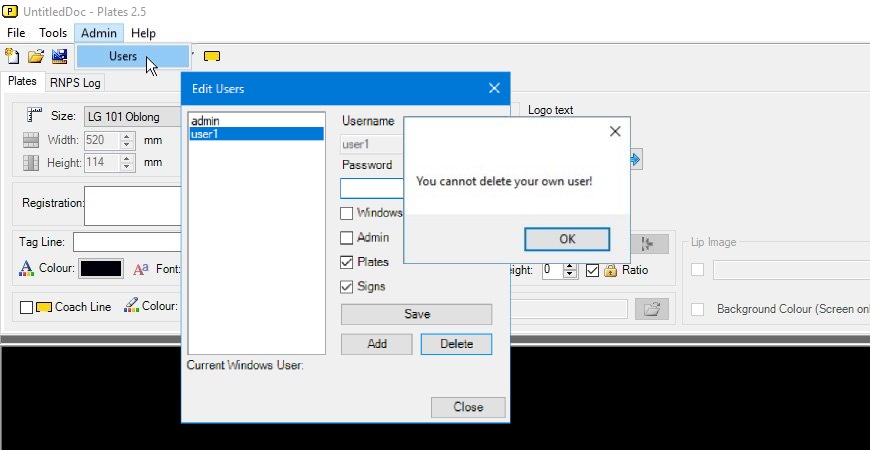
To delete a user simply select the name in the user list and click the Delete Button, then confirm the decision and press OK. Please note, you cannot delete your own account. And to delete an admin account you create a new admin level account first, log-in using that new account. Then you can delete the old account.
Use Windows Accounts
If you wish to use Windows Log-In and Passwords, the set-up process is very similar to standard users. To use Windows authentication, start by launching the Users module as an admin. Then you can pick from a list of PC users.
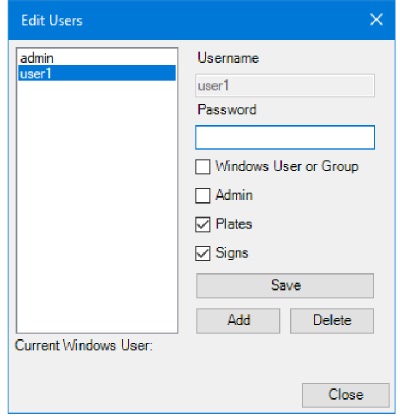
Tick Windows User or Group
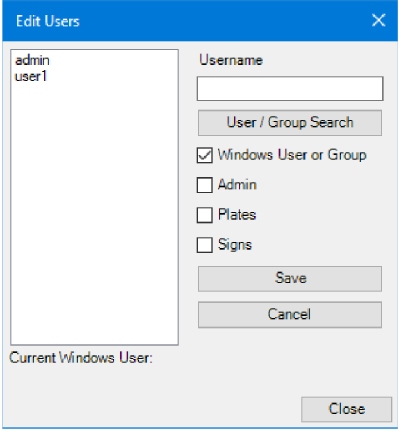
Instead of clicking the add user button, you need to tick the Windows User & Groups checkbox. Notice how the password field is now replaced with a new button. This button allows you to search and add a user from existing Windows accounts on the PC.
Search & Add A User
Click the User/Group Search button to launch the Domain Searcher module. This module is populated with all the users and groups registered with Windows on this domain.
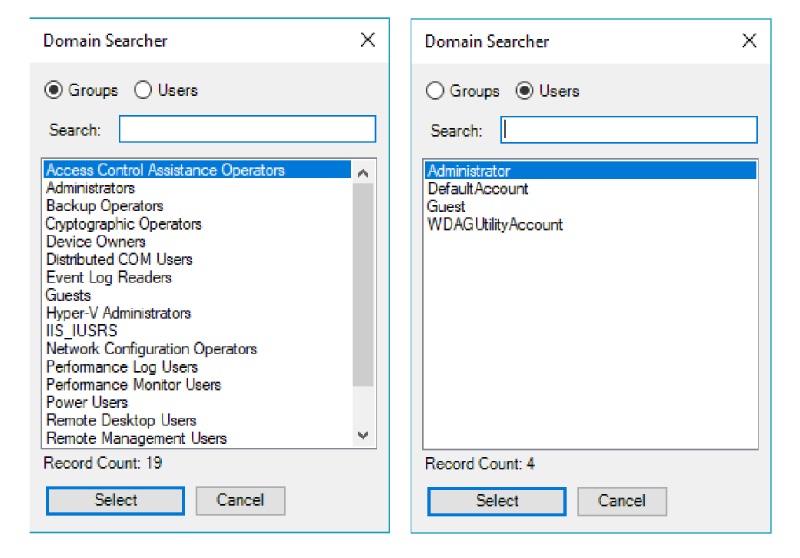
You can filter the list to find your target by using the radio buttons. Or by starting to type a name in the search field, any matching entries will appear underneath. Simply pick your targets name, and then click the select button to add them as a user account.
Need Help?
For help with this advanced feature contact our customer service team and ask for technical assistance.