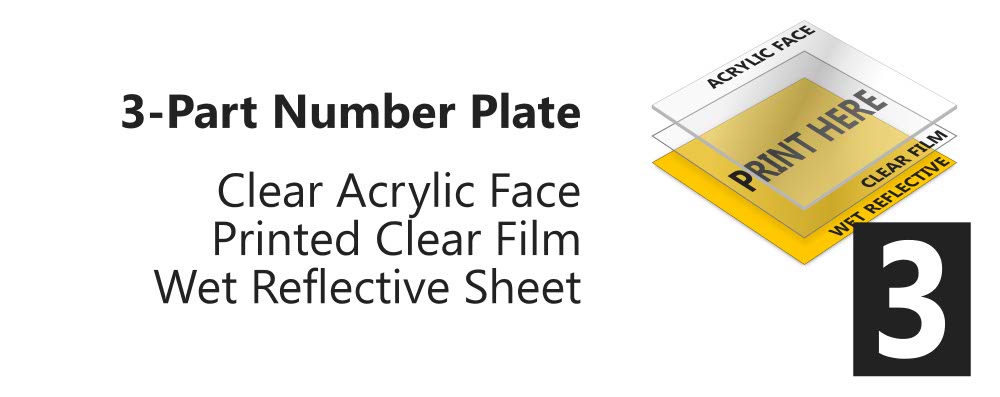
This knowledge base article is all about our 3-Part Number Plates. 3-Part or Hybrid is named, unsurprisingly, after its three plate components. Below is an overview of its specification, sections on its components, printed media, assembly & recyclability.
3-Part Number Plates / Hybrid Plates
Our 3-Part Number Plate Construction
Overview
To produce 3-Part Number Plates you laminate Printed Film between a Clear Acrylic face & Wet Reflective backing. This 3-Part construction combines film’s colour capability with acrylic’s durability. Being a more complex construction, it utilises sheets as they’re more economical and convenient. Our Oralite wet reflective is identical to dry reflective, but is coated with a clear adhesive & protective cover.
3-Part Number Plates are covered by our BSAU 145e Certification. So we can guarantee number plates made from this specification will be road legal, subject to correct use & assembly.
Our Components
Tennants 3-Part Number Plates specification requires printed clear film be mounted between an acrylic face & reflective backing.
Acrylic Face
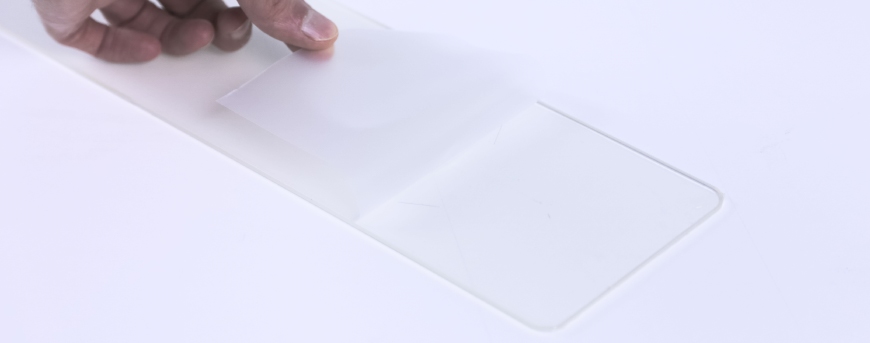
Folding Back the Cover on Clear Acrylic
Our Clear Acrylic Faces are 3mm thick PMMA panels that provide excellent strength and durability. Just like our other components it’s UV stable to resist clouding-up and discolouring over time. Moreover it’s easy to fabricate, bonds well with adhesives and delivers glass-like opacity. This range of features make it a perfect protective component for compliant number plates.
Clear Film

Printed Clear Film On A Jig
Our Clear Film is 0.2mm thick polyester sheet that delivers exceptional optical clarity. Designed to be durable with a high-tensile strength, it’s UV stable for colour fastness. Plus it has an ink receptive coating for for better toner bonding, so either side is printable. All these features combine to make it an ideal print media that passes all durability & visability testing.
Wet Reflective
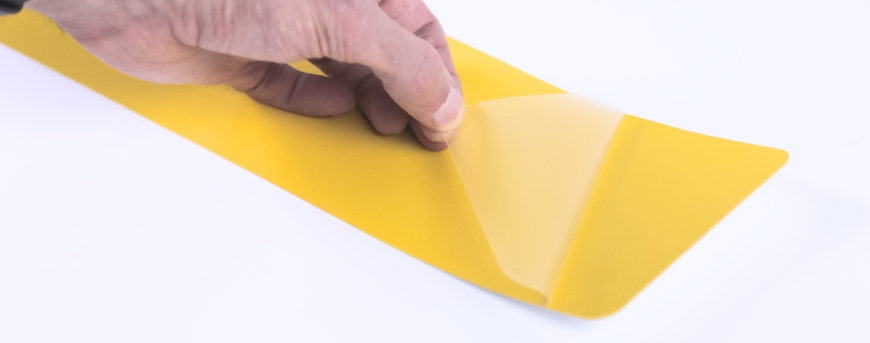
Folding Back the Cover on a Wet Reflective
Tennants Reflective is essentially a 0.5mm thick Oralite film specially made by Orafol. Oralite is perfect for our plates, being retroreflective, UV stable & fade resistant. This ensures the legally required colour and reflectivity levels are met for the number plates lifespan. In addition it’s finished with a high-tack adhesive coating, protected by a film cover.
Printed Media
Printing onto Clear Film allows suppliers to produce cost-efficient number plates. Since film is just a fraction of the cost of high-performance reflective panels. Basic colour elements can be used if colour correction issues on yellow plates are addressed. Film prints are protected by being sandwiched between the other 2 components. The acrylic face provides standards required weathering and durability resistance. And the backing sheet delivers the correct colour and Retroreflectivity levels.
Plate Assembly
Here’s a quick step-by-step guide on how to assemble a 3-Part Number Plate. 3-Part Number Plates are made by laminating printed film under a clear face & above a reflective backing. This advanced process enables suppliers to produce number plates on-demand. Using on-site systems comprised of specialist printer, plates software and blank components.
When assembling a printed number plate, we recommend using a jig and roller for a professional finish. The jigs pins are used to line up media accurately & consistently. And the rollers apply equal pressure across the entire width, helping the adhesive to bond evenly.
- Place your Clear Film sheet face up onto the roller jig.
- Fold back a few centimetres of the adhesive cover at the end of an Acrylic Face.
- And position the Acrylic above your Film, adhesive face down and join the two parts together.
- Next, feed the two parts through the roller, keeping hold of the folded adhesive cover.
- This will remove the cover, while you are bonding the two parts together.
- Now you need to place your Wet Reflective face up on the jig, folding back part of its cover.
- Position the parts joined earlier on top with the Film side facing down, and join them together.
- Once again feed your components through the rollers, bonding it and removing the adhesive cover.
- Finally, remove the final protective cover from the front of your Acrylic Face.
Recycling
3-Part Number Plates utilise rigid PMMA Acrylic Faces which can be reclaimed and recycled. Acetate films & reflective sheets however are fragile, complex materials that can’t be easily recycled. The act of separating them usually destroys their structure, leaving shredded plastic and metals. With no cost-effective method of processing this, it’s discarded as industrial waste or incinerated.
PMMA is non-toxic, biocompatible and naturally compatible with human tissue, being used for dentures & glasses. During recycling, PMMA is stripped of the other materials and ground into pellets. These pellets then go through a depolymerisation process, which uses heat to separate it into 98% pure monomers. It is the Monomer resins which are used to create new acrylic products.