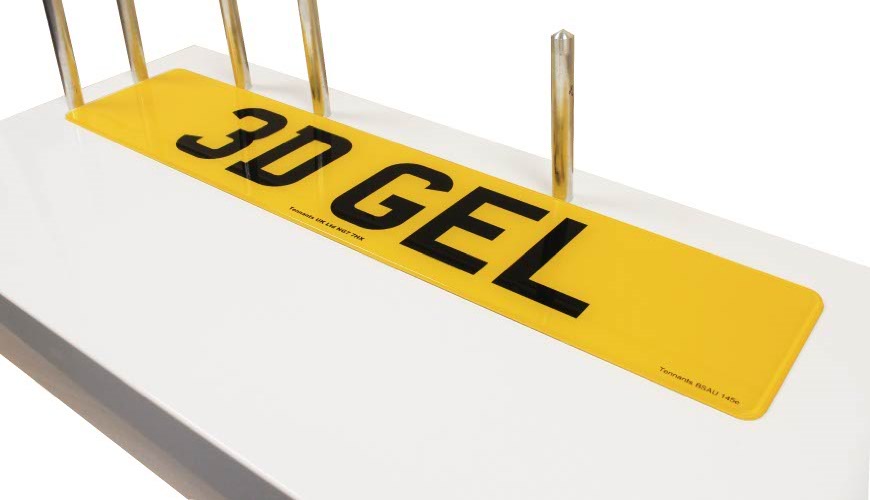
This article provides a 3D GEL Number Plate Guide for our trade suppliers. And it shows just how easy it is to make a number plate with our stick-on digits.
So start elevating your sales opportunities by providing customers with GEL Number Plates that are BSAU145e Certified. And end the years of compliance uncertainty for motor-factors and part-stores like you.
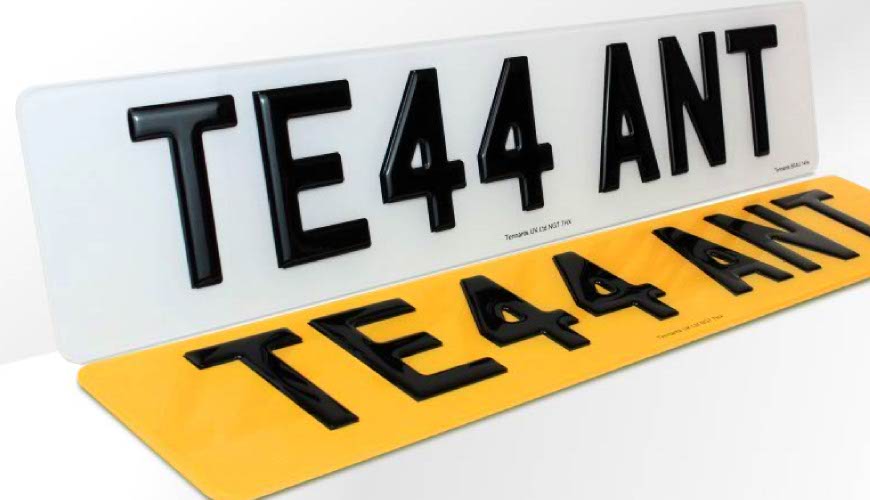
Video Guide – 3D GEL Number Plate Assembly
 Assembling a 3D GEL Number Plate – YouTube Popup
Make a Number Plate as Normal
You make a 3D GEL Number Plate by sticking our digits one-by-one onto an assembled number plate. To be BSAU 145e compliant our GEL Digits must be used with our components. In short, only by using digits with one of our specified plate constructions will they comply with our 3D-Plates Certification. And we can only guarantee their compliance when assembled correctly.

To start simply make a number plate as normal, print the Registration unless you’re using a stencil-mount. Ensure you remove any protective cover from your plate media. And always bond the components together using a jig and roller. Follow each step and your GEL Plate will be done in no time.
Setup the Number Plate for Assembly
Prepare Your Number Plate for the GEL Digits
Place your number plate flat on a clean and well lit work-surface, like your your roller-jig for example. Alternately, set up & configure your stencil mount for the number plate size & format used.
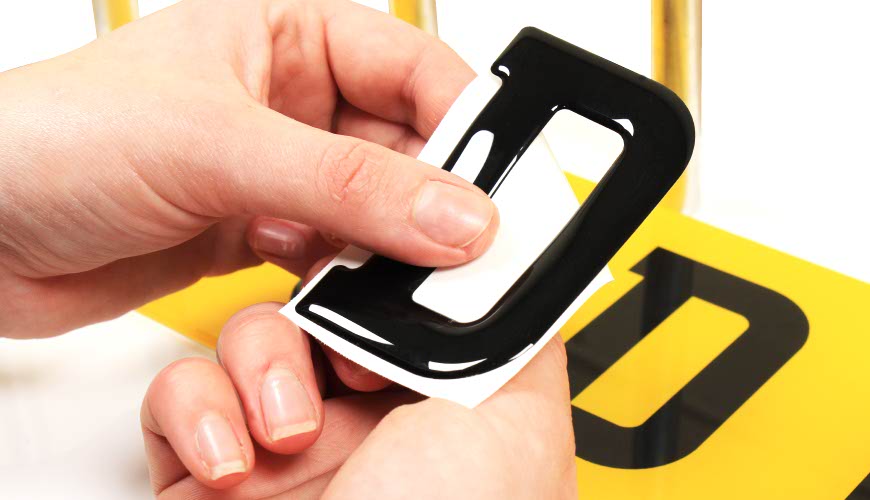
Select & Prepare a GEL Digit
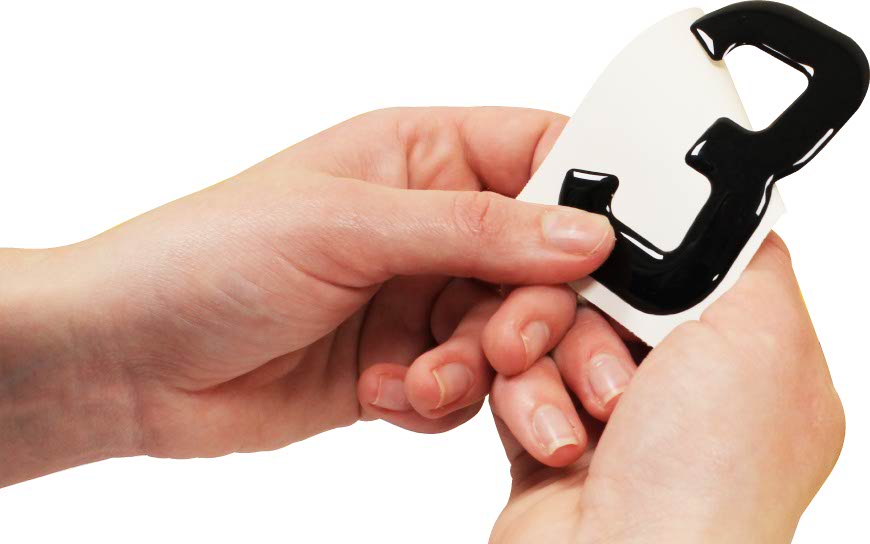
Prepare a GEL Digit & Remove the Backing
Remove the paper backing from the rear of the first digit. This side has the high-tack adhesive and is completely flat without bevelled edges. Be aware, the adhesive is permanent and once a digit is placed it can’t be removed.
Position the Digit in Place
Get the Digit into Place
Using your Stencil Mount or the printed Registration as a guide, get a digit into place. Since it uses the same font, a printed registration is a perfect alignment guide.
Push the Digit Down Firmly
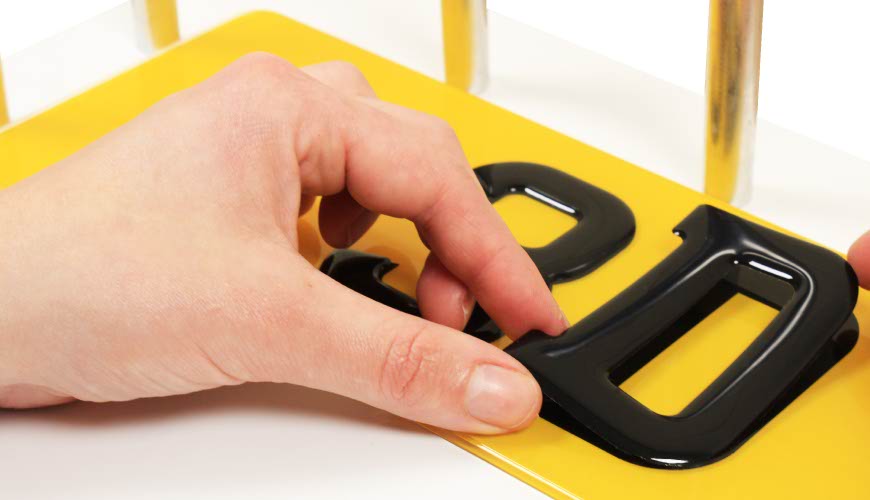
Push the Digit Down Firmly onto the Surface
Press the digit down firmly into place. Hold it on the surface for a few seconds, so the high-tack adhesive can bond. Now simply repeat these steps for each character.
Clean & Buff Number Plate
Clean and Buff the Number Plate
Get you number plate ready for your customer by buffing it with cleanser and a micro-cloth. Gently buff away any fingerprints or left-over residue. Remember to wait a few minutes after fitting for the glue to fully cure before handling or fitting to a vehicle.
Ordering 3D GEL Digits
We hope this quick 3D GEL Number Plate Guide was helpful. If you want to order our digits or need further help using them, try our NP Shop, or get in touch with our customer service team.