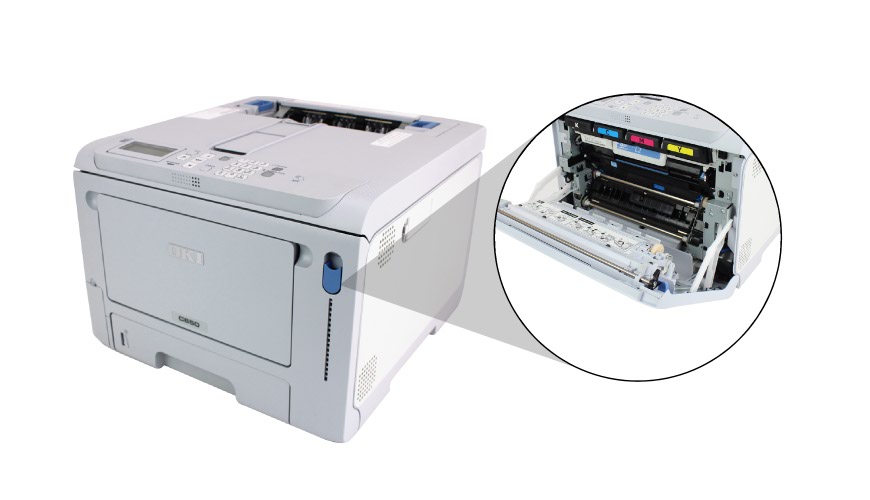
Replace a C650 Transfer Belt
This knowledge base article shows you how to Replace a C650 Transfer Belt, but ensure your replacement is genuine for compliancy reasons. Instructions that follow assume you are directly facing the front of the machine.
Your OKI C650 printer will let you know when it is time to replace a belt unit. First you’ll see warning messages on the display screen found on the operator panel, warning it is approaching its end of life. This is when you need to order a replacement if you don’t have any. The message will change and prompt you to replace it once it has reach its end of life, it may even stop printing.
Open Front Cover
Open Your C650 Front Cover
Before you can install a new belt unit, you’ll have to locate and remove the used one. So start by opening up the front of your printer, remove the feeder tray first. Pull the blue front cover lever, indicated on the image above, to open up your printer. Now you can hinge it down fully to reveal the printer innards with the toner cartridges across the top.
Lift Up the Output Tray
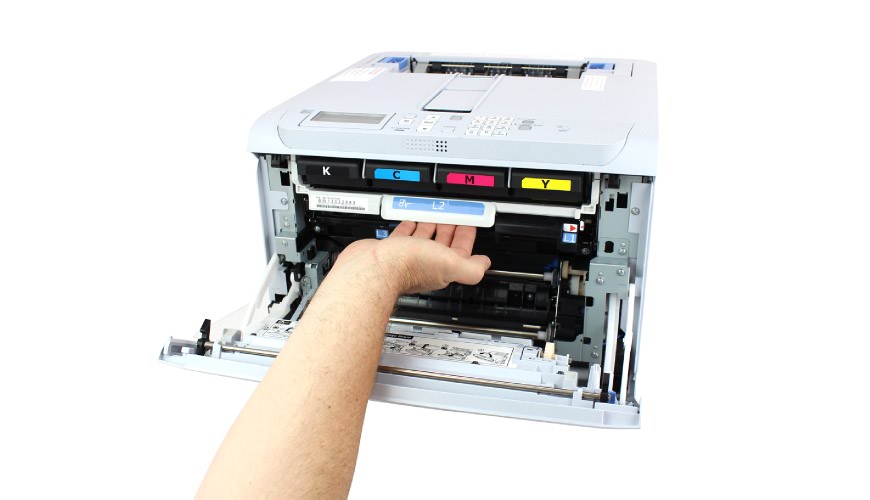
Lift Up the Output Tray
Next you need to lift up your printers output tray so you can access the belt unit. So take hold of the L2 Lever pull it towards you and lift it up gently. Raise it all the way up, so you can see the belt units blue handle at the bottom of printer.
Remove Used Belt Unit
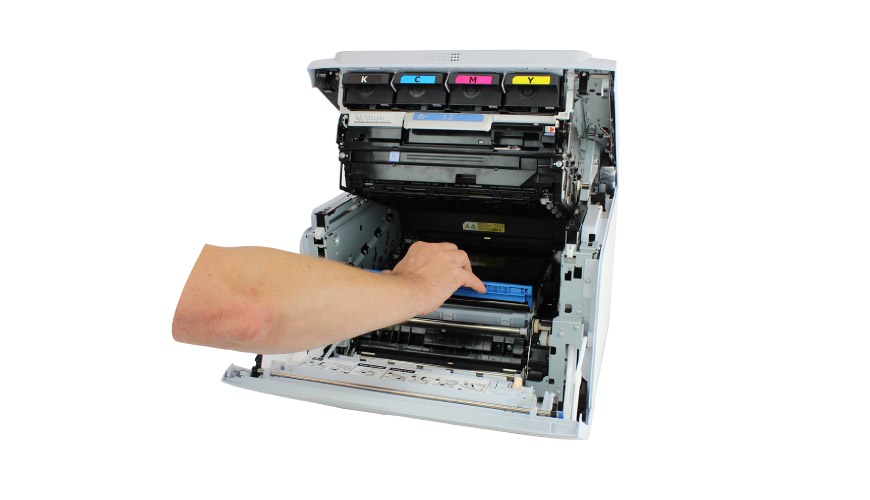
Lift Out the Used Belt Unit
Remove the used belt by first pulling its blue handle up, and then towards you & out of printer. Simply place it aside for disposal or recycling later. Next get your replacement belt ready for install. When striping away its packaging, take care not to touch its surface.
Install New Transfer Belt
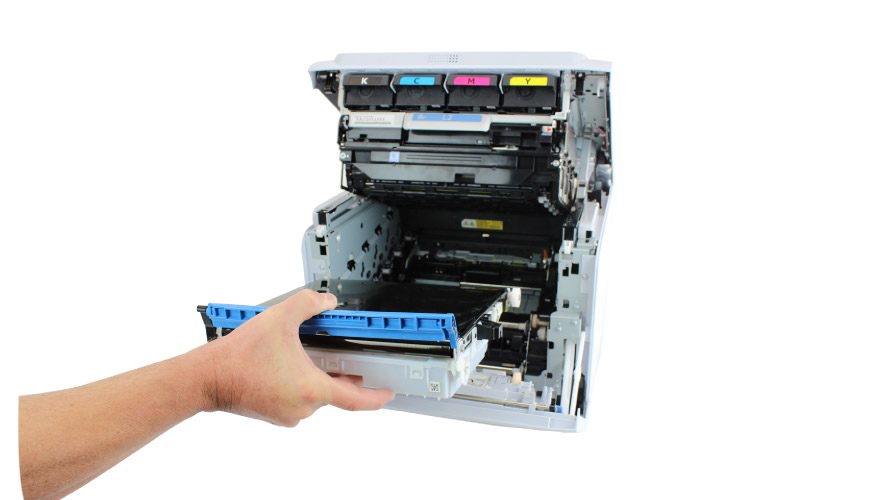
Install the New Transfer Belt
Now you’re ready to install your new transfer belt. Carefully angle & lower it into your printer, holding the blue handle. Then once it’s in position, lock it in place by pushing it down into its housing. All you need to do now is close up your printer. So use the L2 handle to lower down the output tray with the toner and drum units. And close up your printers front cover, so it can detect your new belt.
Need Help or a OKI C650 Transfer Belt?
You can buy a genuine C650 Transfer Belt from the our NP-Shop. They are guaranteed to fit your OKI C650 printer and are approved for making number plates. A trade and shop account is required however for online purchases.
For more detailed instructions, try your printers onscreen help. Or take a look or your number plate systems user guide.